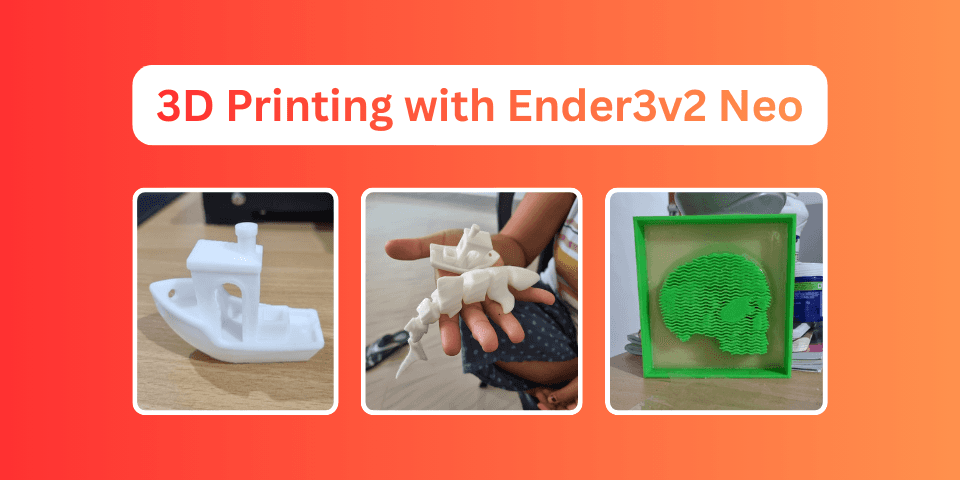
Getting Started with the Creality Ender 3 V2 Neo: A Complete Beginner's Guide
Everything you need to know to start 3D printing with the Creality Ender 3 V2 Neo - from buying guide and setup to your first successful print.
Why I Chose the Ender 3 V2 Neo
In a world where Bambu Lab printers promise plug-and-play convenience, why would anyone choose a printer that requires constant tweaking?
After 2 years and countless prints (including 3-day marathon sessions), I can tell you: the Ender 3 V2 Neo teaches you 3D printing. Bambu Labs gives you prints. The Ender 3 gives you understanding.
This isn't a printer for those who want to hit "print" and walk away. It's for makers who want to know why things work, and aren't afraid to get their hands dirty optimizing settings.
Let's get you started.
Buying Guide: What You're Getting Into
The Printer: Ender 3 V2 Neo
Price Range: ₹18,000 - ₹22,000 (India) | 220 (US)
The "Neo" in the name signifies key upgrades over the standard Ender 3 V2:
| Feature | Ender 3 V2 | Ender 3 V2 Neo |
|---|---|---|
| Auto Bed Leveling | ❌ Manual only | ✅ CR Touch included |
| Extruder | Plastic | Metal (Bowden) |
| Mainboard | Silent 32-bit | Silent 32-bit |
| Build Volume | 220 × 220 × 250 mm | 220 × 220 × 250 mm |
| Nozzle | Standard brass | Standard brass |
Where to Buy (India):
- Creality Official Store
- Robu.in - Often has competitive pricing
- Amazon India - Check for authorized sellers
🔺 I've seen prices drop to ₹15,000 during major sales. You may want to wait for sales during Diwali, Black Friday, or Prime Day if budget constrains you.
Essential Accessories to Buy Alongside
Don't just buy the printer. Get these from day one:
Must-Have (₹2,000 - ₹3,000 total)
| Item | Why You Need It | Approx. Price |
|---|---|---|
| Spare nozzles (0.1 to 1.0mm brass) | By deafult you will get only 0.4mm nozzle. | ₹200-300 |
| Extra nozzle cleaning needles | Clear clogs without removing the nozzle | ₹100-150 |
| Precision screwdriver set | For assembly and maintenance | ₹300-500 |
| Bed adhesion (glue stick/hairspray) | Helps prints stick, especially for PETG | ₹50-100 |
| Isopropyl Alcohol (IPA) | Clean the bed before every print | ₹200-300 |
Nice to Have Later
- All-metal hotend - Required for printing above 240°C (PETG, ABS)
- Better bed springs or silicone spacers - More consistent bed leveling
- Filament dry box - Essential in humid climates (looking at you, monsoon season)
- Enclosure - For ABS and temperature-sensitive materials
Setup: From Box to First Print
Assembly Time: ~45 minutes
The Ender 3 V2 Neo comes partially assembled. It's best to follow their video guide to assemble it. Here's what to expect:
Step 1: Unbox and organize
- Lay out all parts
- Check against the parts list
- Keep all bolts organized (they're different sizes!)
Step 2: Frame assembly
- Attach the gantry (Z-axis frame) to the base
- Ensure everything is square - this is critical
- Tighten bolts in a cross pattern
Step 3: Electronics
- Connect stepper motor cables
- Wire the display
- Plug in the CR Touch probe
Step 4: Tensioning
- X-axis and Y-axis belts should be tight but not guitar-string tight
- A light "twang" when plucked is what you want
Step 5: Initial leveling
- Heat the bed to printing temperature (60°C for PLA)
- Use the paper method: slight friction when sliding paper under nozzle
- Run the CR Touch auto-level after manual leveling
[!IMPORTANT] Do NOT skip manual leveling. The CR Touch compensates for small variations, but it can't fix a severely unlevel bed. Get it roughly level manually first, then let CR Touch fine-tune.
Understanding Filaments: What to Print With
PLA (Polylactic Acid) - Start Here
Ideally you will get a sample spool of PLA with the printer. Use it up first.
Price: ₹800 - ₹1,500 per 1kg spool
PLA is your best friend when starting out:
- ✅ Easy to print (190-210°C nozzle, 50-60°C bed)
- ✅ No heated enclosure needed
- ✅ Low warping
- ✅ Biodegradable
- ❌ Brittle when thin
- ❌ Softens in heat (car dashboard = bad idea)
Recommended brands (India):
- eSUN PLA+ (my go-to)
- Creality Hyper PLA
- Polymaker PolyLite PLA
PETG - The Upgrade
Price: ₹1,000 - ₹1,800 per 1kg spool
Once you're comfortable with PLA:
- ✅ Stronger and more flexible than PLA
- ✅ Better heat resistance
- ✅ Food-safe (with caveats)
- ❌ Stringing issues (dial in retraction!)
- ❌ Sticks TOO well to some surfaces
Print settings: 230-250°C nozzle, 70-80°C bed
TPU (Flexible) - Advanced
Price: ₹1,500 - ₹2,500 per 1kg spool
For phone cases, gaskets, and flexible parts:
- ✅ Flexible and durable
- ❌ Tricky on Bowden setups (the Neo uses Bowden)
- ❌ Slow print speeds required (20-30mm/s)
Where to Download 3D Models
You don't need to design everything yourself initially. Just download models from the internet for tests. Here are the best sources:
Free Model Repositories
I have starred them based on my experience and viewpoints. You may find them different based on your use cases.
| Site | Best For | Quality |
|---|---|---|
| Printables | General purpose, high quality | ⭐⭐⭐⭐⭐ |
| Thingiverse | Huge library, variable quality | ⭐⭐⭐ |
| Thangs | AI-powered search, geometric search | ⭐⭐⭐⭐ |
| MyMiniFactory | Miniatures, figurines | ⭐⭐⭐⭐ |
| Cults3D | Designer models, some paid | ⭐⭐⭐⭐ |
What to Print First
Every 3D printing journey starts the same way:
- Benchy - The de facto test print. Reveals issues with overhangs, bridging, and cooling
- Calibration cube - Check dimensional accuracy
- Stringing test - Dial in retraction settings
- Temperature tower - Find optimal temperature for your filament
[!NOTE] Don't skip calibration prints! They're boring, but they'll save you hours of failed prints later.
Your First Real Prints
After calibration, try something useful:
Beginner-Friendly Prints
| Time | Difficulty | |
|---|---|---|
| Phone stand | 1-2 hours | Easy |
| Cable organizers | 30 min - 1 hour | Easy |
| Headphone hook | 1-2 hours | Easy |
| Desk organizer | 3-4 hours | Medium |
| Plant pot | 2-3 hours | Easy |
My First Prints Journey
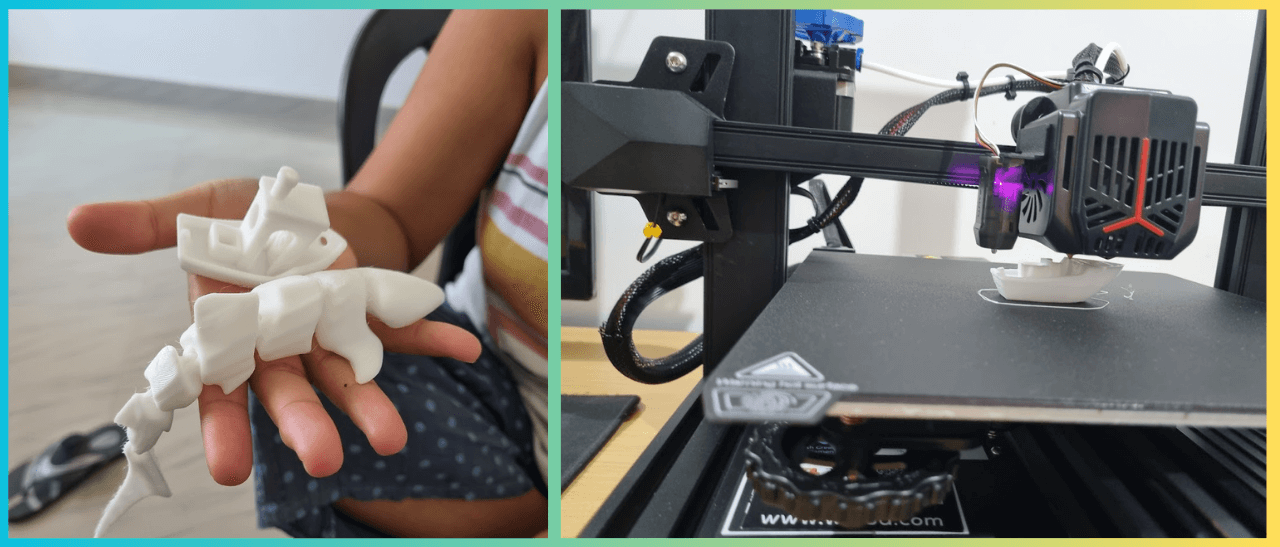 When I started, my first prints were the classics. I used the sample white PLA spool that came with the printer. The first print was a whale shark. It was a mess. The second print was a Benchy. It was better, but still not perfect. The third print was a success.
First useful prints:
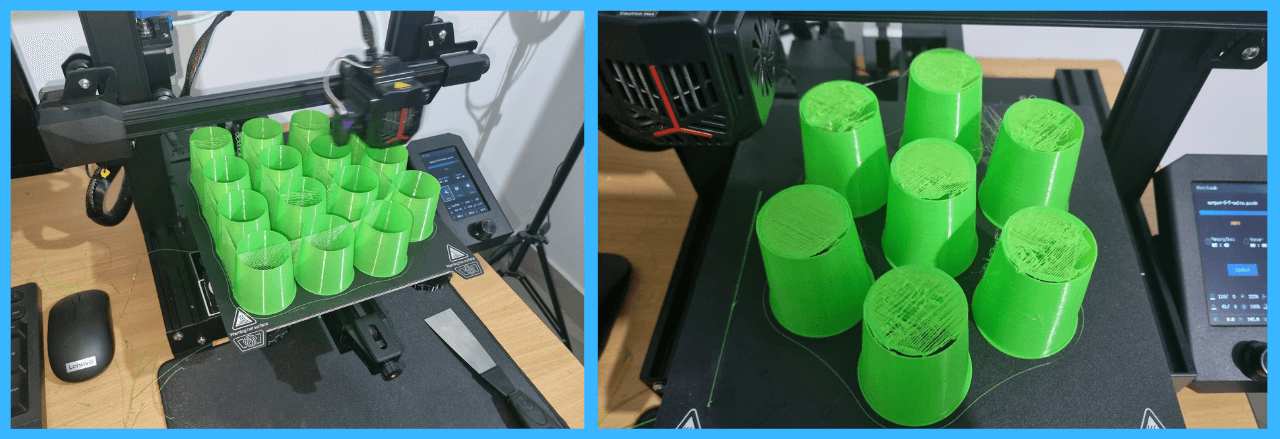
Over time I have printed quite a few useful objects. However, the netpots for my hydroponics setup were the very first practical use case. I have been using them for over a year now and they are still going strong. Check out my hydroponics setup, written by my sister Hydroponics - A Journey. These simple objects taught me more than any YouTube video could. Each failure was a lesson in temperature, speed, retraction, or bed adhesion.
Slicing Software: Turning Models into Prints
Your printer can't read STL files directly. You need a slicer to convert 3D models into G-code instructions.
Recommended Slicers (All Free)
| Slicer | Pros | Cons |
|---|---|---|
| Cura | Easy UI, huge plugin ecosystem | Can feel slow on older PCs |
| PrusaSlicer | Excellent defaults, good supports | Steeper learning curve |
| OrcaSlicer | Modern, fast, great for tuning | Newer, smaller community |
My recommendation: Start with Ultimaker Cura. It has a built-in profile for the Ender 3 V2 that works well for the Neo. Switch to OrcaSlicer once you're more comfortable.
Essential Slicer Settings to Know
| Setting | What It Does | PLA Starting Value |
|---|---|---|
| Layer Height | Print resolution (lower = finer) | 0.2mm (quality) / 0.28mm (draft) |
| Print Speed | Overall printing speed | 50mm/s |
| Nozzle Temperature | Hotend temperature | 200-210°C |
| Bed Temperature | Build plate temperature | 60°C |
| Infill | Internal structure density | 15-20% |
| Retraction Distance | Filament pullback to prevent stringing | 6-7mm (Bowden) |
| Retraction Speed | How fast to retract | 40-45mm/s |
Troubleshooting: When Things Go Wrong
They will. Here's how to fix common issues:
Bed Adhesion Problems
Symptoms: Print pops off mid-print, corners lift (warping)
Fixes:
- Clean bed with IPA before every print
- Level the bed properly (paper should have slight friction)
- Use glue stick or hairspray
- Increase bed temperature by 5°C
- Enable brim or raft in slicer
Stringing (Hairy Prints)
Symptoms: Fine strings between printed parts
Fixes:
- Enable retraction (6-7mm for Bowden)
- Lower nozzle temperature
- Increase travel speed
- Print stringing test and adjust
Layer Separation
Symptoms: Layers don't stick together, weak prints
Fixes:
- Increase nozzle temperature
- Slow down print speed
- Check for partial clogs
- Ensure proper cooling fan speed
What's Next?
This is Part 1 of a 5-part series on the Ender 3 V2 Neo:
- Getting Started (You are here)
- Calibrations That Actually Matter - E-steps, flow, PID tuning
- Slicer Deep Dive & Long Print Survival - Multi-day print strategies
- AI Print Failure Detection — Training YOLOv26 - Train a model to detect failures
- Real-Time Print Monitoring & Automated Control - Webcam monitoring and automated printer stop
Final Thoughts
The Ender 3 V2 Neo isn't the fastest printer. It's not the most feature-rich. But it's a teacher.
Every failed print taught me something. Every successful 3-day print gave me confidence. And when I eventually design and print industrial parts in SolidWorks, I know exactly why they work, because I learned on a machine that demands understanding.
If you want prints, buy something like a Bambu Lab, or any modern printer. If you want to become a 3D printer, start here.
Happy printing! 🖨️
Previous Post
Self-Hosting LLMs: A Guide to vLLM, SGLang, and Llama.cpp
Next Post
Ender 3 V2 Neo Calibrations That Actually Matter
If the article helped you in some way, consider giving it a like. This will mean a lot to me. You can download the code related to the post using the download button below.
If you see any bug, have a question for me, or would like to provide feedback, please drop a comment below.