Slicer Settings Deep Dive & Surviving Multi-Day Prints on the Ender 3 V2 Neo
The slicer is where good prints become great prints. Here's everything I've learned about slicer profiles and running 24-hour prints on the Ender 3 V2 Neo.
The Slicer Makes or Breaks Your Print
In Part 1 we set up the printer. In Part 2 we calibrated the hardware. Now comes the software side - the slicer.
Your slicer translates a 3D model into G-code instructions the printer can execute. The same model with different slicer settings can produce a flawless print or a pile of spaghetti. After 2 years and prints running as long as 3 days straight, I've learned which settings actually matter and how to set them up for reliability.
Choosing a Slicer
I've used all three of the major free slicers. Here's my honest take:
Ultimaker Cura

The one most beginners start with, and for good reason.
- ✅ Built-in Ender 3 V2 profile (works for the Neo)
- ✅ Huge plugin marketplace
- ✅ Intuitive UI with recommended/custom modes
- ❌ Gets slow with complex models
- ❌ Updates sometimes break existing profiles
PrusaSlicer
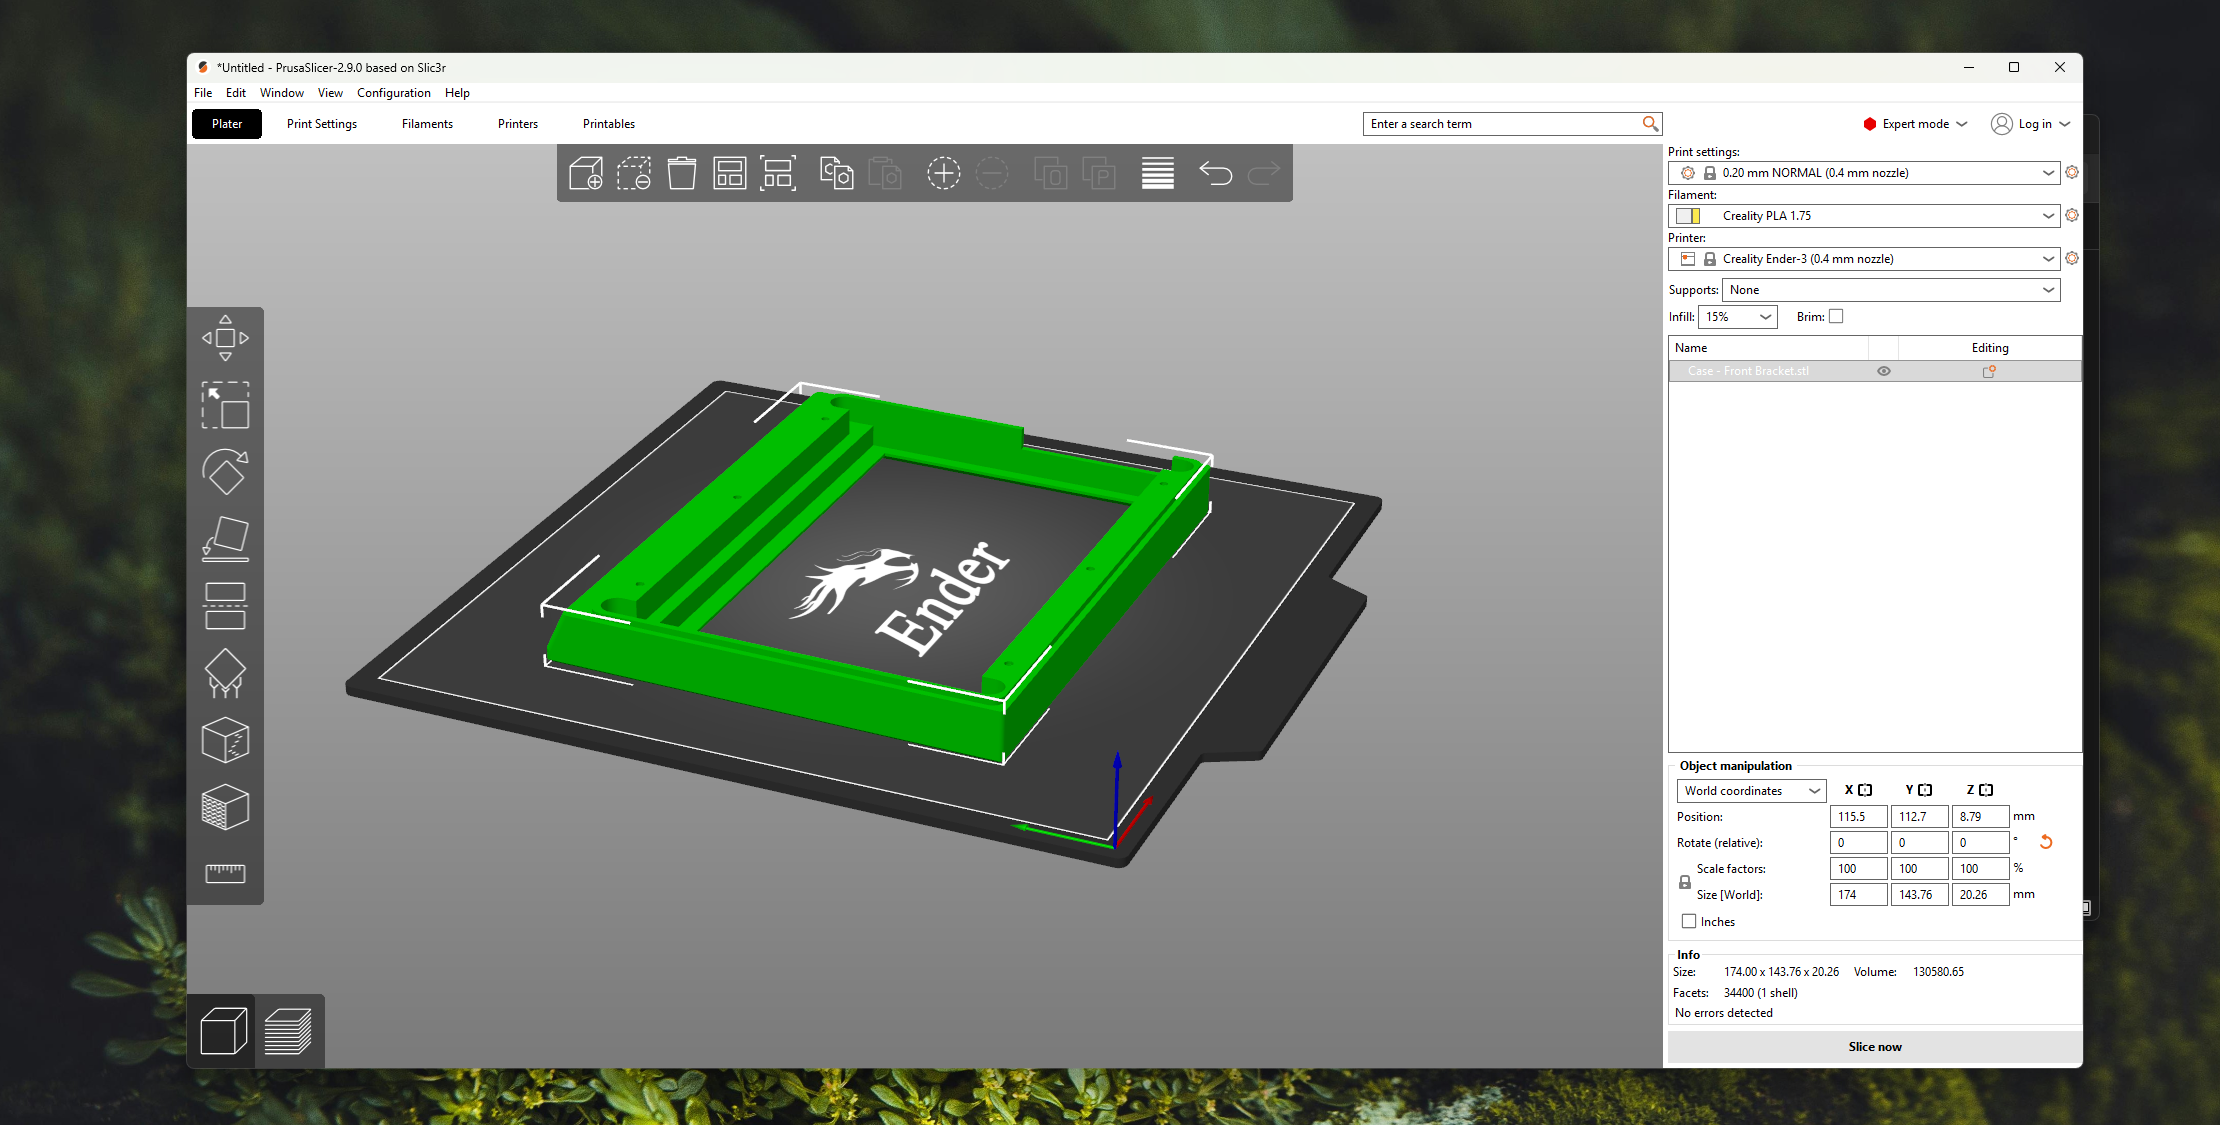
Developed by Prusa Research, but works with any printer.
- ✅ Excellent default profiles
- ✅ Better support generation than Cura
- ✅ Paint-on supports and variable layer height
- ❌ No built-in Ender 3 profile (easy to configure though)
- ❌ UI feels less polished
OrcaSlicer
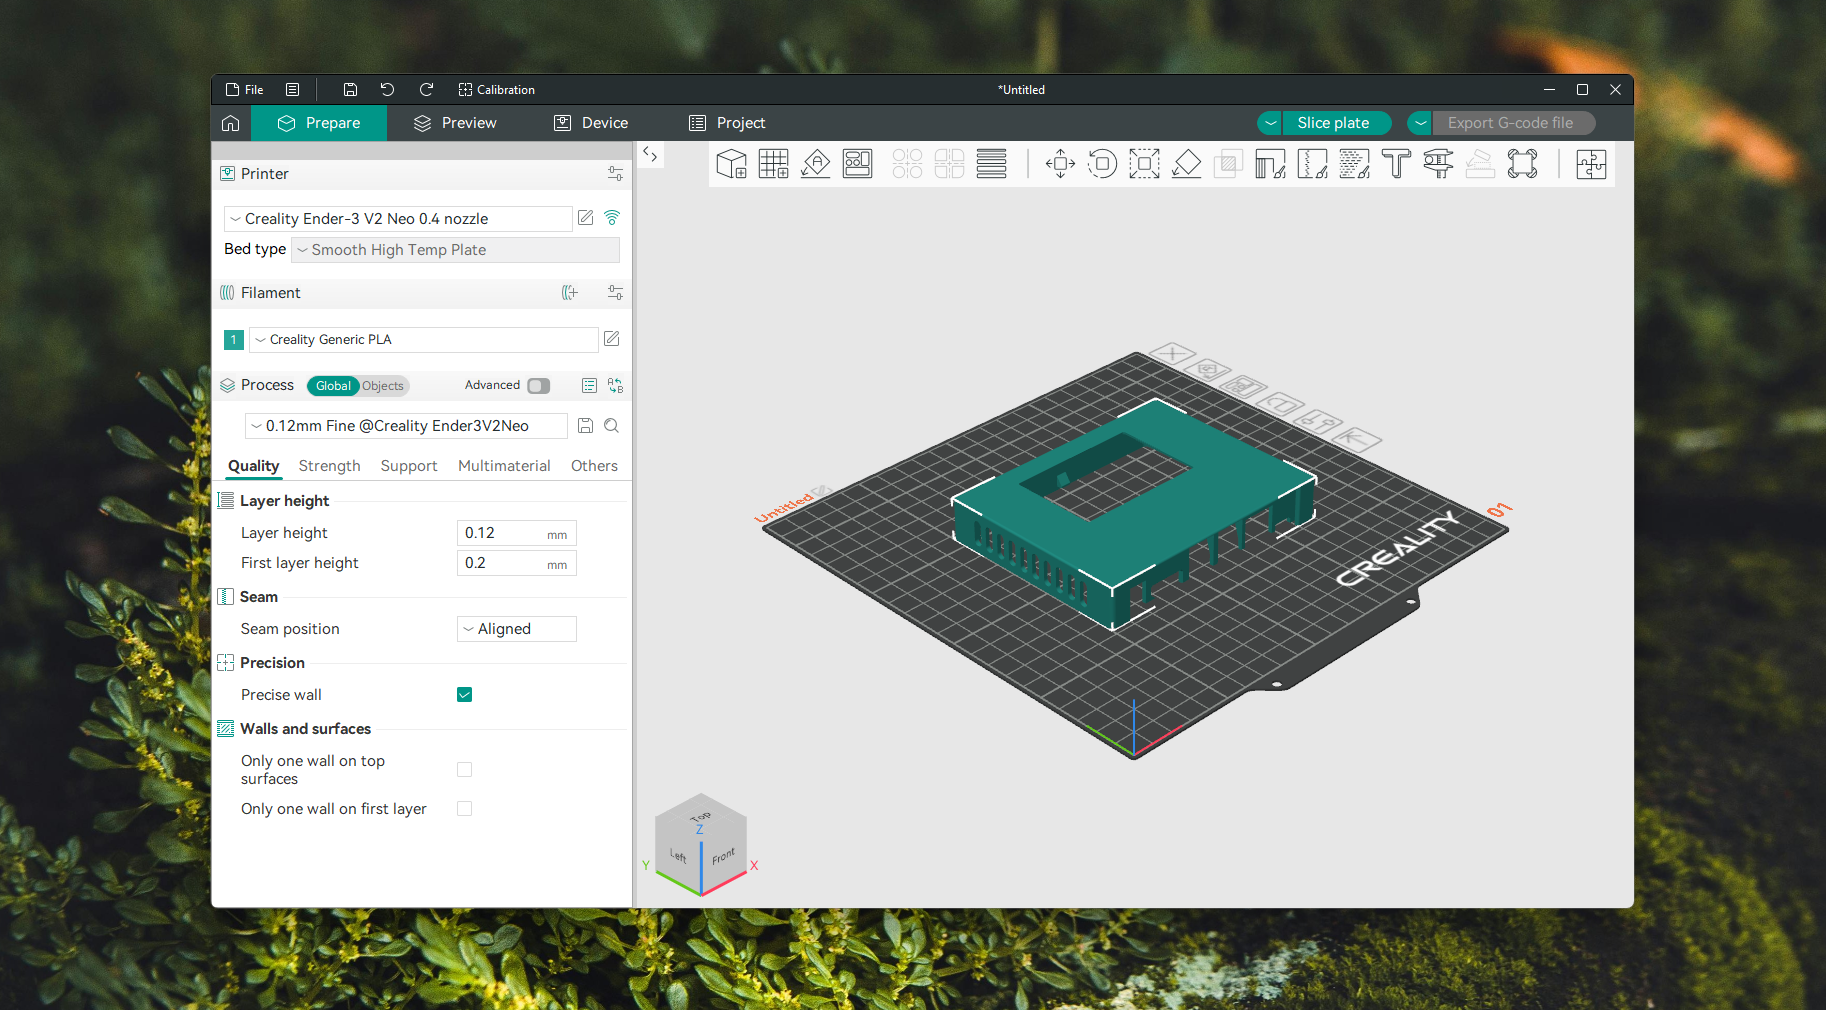
A fork of PrusaSlicer/BambuStudio with extra features.
- ✅ Built-in calibration tools (flow, retraction, temperature)
- ✅ Modern UI
- ✅ Fast slicing
- ✅ Multi-printer management
- ❌ Newer, smaller community
My recommendation: I started with Cura and eventually moved to OrcaSlicer. The built-in calibration tools and faster slicing won me over. For this post, I'll use Cura terminology since most Ender 3 users start there, but the concepts apply to all slicers.
Understanding Key Slicer Settings
Layer Height - Your Resolution Dial
Layer height is the single biggest quality vs speed tradeoff.
| Layer Height | Best For | Print Time Impact |
|---|---|---|
| 0.12mm | Fine details, figurines, visible surfaces | Very slow (2-3x) |
| 0.16mm | Good quality, reasonable speed | Slow (1.5x) |
| 0.20mm | General purpose (my default) | Baseline |
| 0.24mm | Functional parts where looks don't matter | Faster |
| 0.28mm | Draft prints, prototypes | Fast |
[!TIP] Layer height should be a multiple of your Z-axis step resolution. On the Ender 3 V2 Neo with its lead screw, the magic numbers are 0.04mm increments - so 0.12, 0.16, 0.20, 0.24, 0.28 are all optimal. Avoid oddball values like 0.15 or 0.22.
Line Width
Default is usually your nozzle diameter (0.4mm), but you can go wider for stronger parts or narrower for finer details.
- 0.4mm - Standard, good for most prints
- 0.44-0.48mm - Slightly wider lines bond better, good for functional parts
- 0.3-0.35mm - Finer detail but weaker and slower
Wall Count (Perimeters)
The number of outer shells around your print.
| Wall Count | Use Case |
|---|---|
| 2 | Decorative items, non-structural |
| 3 | General purpose (my default) |
| 4-5 | Structural parts, load-bearing |
More walls = stronger print. For functional parts, I'd rather increase wall count than increase infill. The walls carry most of the load.
Infill - Less Than You Think
Infill is the internal structure. Most beginners crank it to 50% or higher thinking "more = stronger." In reality:
| Infill % | Strength vs 100% | When to Use |
|---|---|---|
| 10-15% | ~60% | Decorative, non-structural |
| 20% | ~70% | General purpose |
| 30-40% | ~85% | Functional parts |
| 50%+ | Diminishing returns | Rarely worth it |
Infill patterns matter too:
| Pattern | Strength | Speed | When to Use |
|---|---|---|---|
| Grid | Good all-around | Medium | Default choice |
| Gyroid | Excellent in all directions | Slow | Functional parts |
| Lightning | Minimal (top surface support only) | Very fast | Decorative items |
| Cubic | Good, low material use | Medium | Balanced approach |
My go-to: Gyroid at 20% for functional parts, Lightning at 10% for decorative pieces.
Print Speed - Finding the Sweet Spot
On the Ender 3 V2 Neo, speed is limited by the hardware. This isn't a Bambu Lab doing 500mm/s. But that's not necessarily a problem.
My Speed Settings
| Setting | PLA | PETG | TPU |
|---|---|---|---|
| Print Speed | 50mm/s | 40mm/s | 25mm/s |
| First Layer Speed | 20mm/s | 15mm/s | 15mm/s |
| Wall Speed | 30mm/s | 25mm/s | 20mm/s |
| Infill Speed | 60mm/s | 45mm/s | 25mm/s |
| Travel Speed | 150mm/s | 120mm/s | 100mm/s |
| Top/Bottom Speed | 25mm/s | 20mm/s | 20mm/s |
[!IMPORTANT] First layer speed is sacred. No matter what else you change, keep the first layer slow. A good first layer is worth the extra 5 minutes. I've seen prints fail at hour 30 because someone rushed the first layer.
Acceleration and Jerk
These control how quickly the print head speeds up and slows down.
- Stock values work fine for most prints
- Lower acceleration (500-800 mm/s²) reduces ringing/ghosting
- Higher acceleration (1000+) is faster but shows artifacts on corners
I leave these at stock unless I'm chasing print quality on a specific model.
Temperature Profiles by Material
After running temperature towers for dozens of filament brands, here are my proven profiles:
PLA Profile
1Nozzle Temperature: 200-210°C (brand dependent)
2Bed Temperature: 60°C
3Fan Speed: 100% (after first 2 layers)
4First Layer Fan: 0%
5Retraction: 6mm at 45mm/s
PETG Profile
1Nozzle Temperature: 235-245°C
2Bed Temperature: 75-80°C
3Fan Speed: 30-50% (too much cooling = poor layer adhesion)
4First Layer Fan: 0%
5Retraction: 5mm at 35mm/s
6Z-Hop: 0.2mm (PETG strings badly without this)
TPU Profile
1Nozzle Temperature: 220-230°C
2Bed Temperature: 50°C
3Fan Speed: 50%
4First Layer Fan: 0%
5Retraction: 3mm at 25mm/s (minimal - Bowden + flexible = clogs)
6Print Speed: 25mm/s max
[!WARNING] PETG sticks to the bed aggressively. Use a glue stick or PVA-based bed adhesive as a release agent. Without it, you risk pulling chunks out of your build plate. I learned this the hard way.
Support Structures
Supports are scaffolding the printer builds under overhangs and bridges, then you remove them after printing.
When Do You Need Supports?
The general rule: overhangs beyond 45 degrees need support. But the Ender 3 can often handle up to 55-60 degrees with good cooling.
Test your printer's overhang limits by printing an overhang test (available on Printables). This tells you exactly where your printer starts struggling.
Support Types
| Type | Pros | Cons |
|---|---|---|
| Normal/Linear | Easy to set up | Hard to remove, leaves marks |
| Tree | Easier removal, less scarring | Slower to slice, can miss areas |
| Organic (OrcaSlicer) | Best surface finish under supports | Newer feature, less tested |
My Support Settings
1Support Pattern: Zigzag
2Support Density: 10-15%
3Support Z Distance: 0.2mm (1 layer gap)
4Support X/Y Distance: 0.7mm
5Support Interface: Enabled (2 layers)
6Support Interface Density: 80%
The support interface is the key setting most people miss. It creates a dense layer between the support and your print, resulting in a much smoother bottom surface.
Surviving Multi-Day Prints
This is where theory meets reality. Running a 3-day print on an Ender 3 V2 Neo requires planning that goes beyond slicer settings.
Pre-Print Checklist
Before starting any print over 12 hours, I go through this:
- Fresh bed clean with IPA
- Check belt tension - one loose belt at hour 40 ruins everything
- Verify filament supply - weigh the spool, calculate if you have enough
- Check PTFE tube fittings - these loosen over time and cause under-extrusion
- Clear the nozzle - do a cold pull if there's any doubt
- Verify bed leveling - even if it was fine last print, check again
- Disable sleep/power saving on the PC if printing via USB
Power Loss Recovery
The Ender 3 V2 Neo has a power loss recovery feature built into the firmware. If power cuts out mid-print, the printer saves its position and can resume when power returns.
But it's not perfect:
- The nozzle cools down during the outage, and the resume can leave a visible line
- If the bed cools and the print pops off, recovery is useless
- SD card prints resume better than USB prints
My strategy for power-sensitive prints:
- Always print from the SD card for long prints (not USB)
- Use a UPS (Uninterruptible Power Supply) if you're in an area with unreliable power
- Monitor the first few layers, then let it run
Filament Management Mid-Print
For multi-day prints, filament issues are the #1 failure mode:
Running out mid-print:
- Weigh the spool before starting. An empty spool weighs ~200g (varies by brand)
- Calculate filament needed from slicer's material estimate
- Add 10% buffer
Moisture absorption during print:
- In humid environments, filament absorbs moisture while sitting on the printer
- You'll hear popping/crackling sounds and see rough surfaces
- Use a filament dry box that feeds directly to the printer
- Or at minimum, put the spool in a plastic bag with silica gel during overnight pauses
Monitoring Long Prints
You don't want to sit and watch for 72 hours. Options:
| Method | Cost | Effort |
|---|---|---|
| Cheap webcam pointed at printer | ₹500-1000 | Low |
| OctoPrint on Raspberry Pi | ₹3000-5000 | Medium |
| Smart plug with power monitoring | ₹500-800 | Low |
| Just check every few hours | Free | Manual |
I use a cheap webcam streaming to my phone. Not fancy, but it catches failures before they waste hours of filament. Will publish another blog post on how we implemented computer vision to monitor print failures.
Creating Your Own Slicer Profile
After you've dialed in your settings for a specific filament, save it as a named profile. Here's my naming convention:
1[Material]_[Brand]_[Color]_[Nozzle]_[Quality]Examples:
PLA_eSUN_White_0.4_StandardPETG_Creality_Grey_0.4_FunctionalPLA_Polymaker_Black_0.4_Fine
What to Include in a Profile
| Setting Category | Save Per Filament? | Save Per Quality? |
|---|---|---|
| Temperatures | ✅ | |
| Retraction | ✅ | |
| Fan Speed | ✅ | |
| Layer Height | ✅ | |
| Speed | ✅ | |
| Infill | ✅ | |
| Wall Count | ✅ |
Most slicers let you save material profiles and print profiles separately. Use both.
Common Slicer Mistakes
After 2 years, these are the mistakes I see (and made) most often:
1. Overcomplicating Settings
Start with the slicer's defaults. Change one thing at a time. If you tweak 5 settings and the print fails, you won't know which change caused it.
2. Ignoring the Preview
Every slicer has a layer preview/simulation mode. Use it! Look for:
- Missing supports
- Thin walls that might not print
- Travel moves that cross over the print
- First layer coverage
3. Not Accounting for Shrinkage
All materials shrink slightly as they cool:
- PLA: ~0.3-0.5%
- PETG: ~0.5-1%
- ABS: ~1-2%
For functional parts where dimensions matter, scale your model up by the shrinkage percentage or design with tolerances in mind.
4. Using the Same Profile for Everything
Your PLA decorative print profile should NOT be the same as your PETG functional part profile. Create separate profiles and use them. The 2 minutes you save by reusing a profile will cost you hours of failed prints.
My Go-To Print: Prototyping a Venturi Tube (24 Hours)
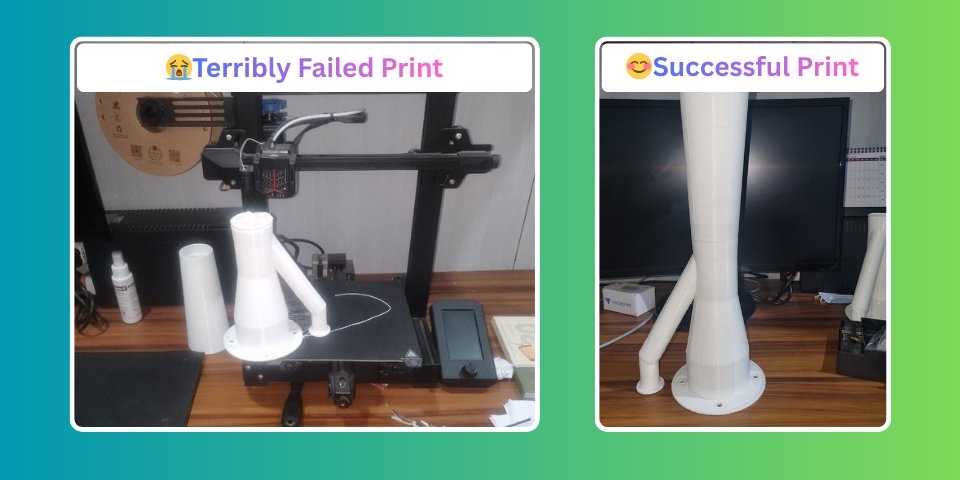
One of the most satisfying prints I've done on the Neo was a Venturi Tube prototype for an industrial machine - a 24-hour print using a 1mm nozzle for faster prototyping. The ultimate goal was to machine the final part in steel, but testing the design's effectiveness could require multiple iterations. Machining each version in steel would be expensive. So we decided to validate the design with 3D printed parts first - iterate fast, test, refine, and only commit to steel once the geometry was proven.
Settings used:
- Material: PLA+
- Nozzle: 1mm (for faster prototyping)
- Layer height: 0.6mm
- Walls: 3
- Infill: 30% Gyroid
- Speed: 40mm/s
The print came out dimensionally accurate enough to validate the Venturi effect. On a ₹20,000 printer. That's the real power of desktop 3D printing - not just making trinkets, but solving real engineering problems cheaply and quickly. Well, it did fail once, for some reason the bottom layer got loose. But that's a story for another day.
What's Next?
In the final two parts of this series, we'll move from hands-on printing to smart monitoring — training a YOLOv26 model to detect print failures, then building a real-time monitoring pipeline that can automatically stop your printer when things go wrong.
Series Navigation:
- Getting Started with the Ender 3 V2 Neo
- Calibrations That Actually Matter
- Slicer Deep Dive & Long Print Survival (You are here)
- AI Print Failure Detection — Training YOLOv26
- Real-Time Print Monitoring & Automated Control
Resources:
Previous Post
Ender 3 V2 Neo Calibrations That Actually Matter
Next Post
How to Run Multiple GitHub Accounts on One Machine (Mac)
If the article helped you in some way, consider giving it a like. This will mean a lot to me. You can download the code related to the post using the download button below.
If you see any bug, have a question for me, or would like to provide feedback, please drop a comment below.